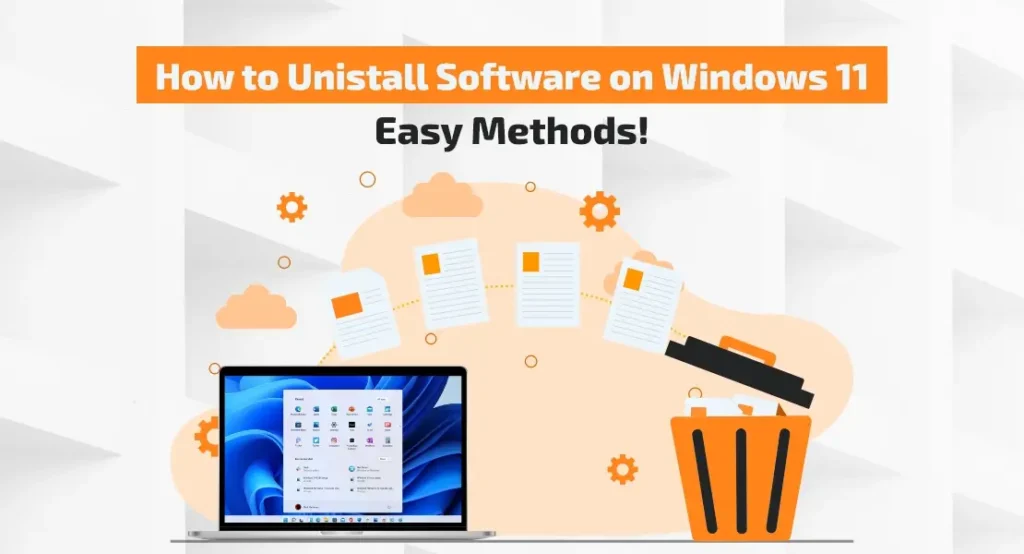
Cleaning a system is very important when we talk about speed and performance. Junk in the system creates a lot of trouble. The way you clean your home’s mess, getting rid of system mess is equally crucial.
But how will you uninstall programs on Windows 11? There is nothing to worry about; you can do it easily in no time.
Here are different methods that will help you remove those unrequired software files that take up a lot of space on your system.
How will you remove programs using the Settings App?
Your Windows operating system can be more effectively controlled by using the Settings app. Utilizing the Settings program, you can customize your computer, manage networks, and add new user accounts.
You can also use the start program to remove programs from your computer. How to do it is as follows:
Step 1: You can easily open the Settings app on your system by pressing Windows + I.
Step 2: Check the left sidebar. If the application option is present, select it.
Step 3. Choose Installed Programs from the pane on the right.
Step 4: From the context menu, select Uninstall by clicking on the three horizontal dots symbol next to the app you wish to remove.
This method can easily uninstall software on Windows 11.
What are the steps to remove the program by using File Explorer?
You are in a questionable stage of learning how and why to use File Explorer. Well, the major work of File Explorer is to help users get access to the files present in the system. If you access the files, you can uninstall the program files from here, right?
Here are some of the easygoing steps you can use to uninstall software on Windows 11 using File Explorer.
Step 1: Open the Start Menu by clicking on it, type the name of the program in the search field, and select Open file location from the right pane afterward.
Step 2: Choose “Open file location” one last time by right-clicking on the program icon present in the opened folder.
Step 3: To begin the removal procedure, find the uninstall execution file, right-click on it, and choose Open.
How to Uninstall Programs Using Command Line Tools
As a normal user, it’s difficult to use the command prompt but many system enthusiasts can work here. Many users run this out of curiosity but this command prompt or Windows Shell can be a useful tool when it comes to the uninstallation of programs on Windows 11.
This way is going to be a different and new one for the process of uninstallation. Here are the steps that you will use to perform the task.
Step 1: To find the command prompt, open the Start menu and search for Command Prompt using the search bar.
Step 2: Now choose Run as Administrator, which is present on the right panel for further processing.
Step 3: Type wmic into the Command Prompt window and hit Enter.
Step 4: Enter the command by typing it in and hitting Enter. All of the installed apps on your computer will be shown.
Step 5: Type the following command and hit Enter to uninstall an application. Make sure the program name you wish to remove is entered instead of “app name.”
Step 6: To confirm your choices, type Y and hit Enter.
If you want to know about Windows PowerShell, here are the steps:
Step 1: You can find Windows PowerShell in the search box after you open the Start Menu
Step 2: Now click on Run as administrator from the right pane.
Step 3: You have to type the command in the Windows PowerShell window. All of the installed apps will be visible.
Step 4: Find the app you wish to delete and write down its whole name. Next, input the subsequent directive and hit the Enter key. Make sure you include the complete name of the app you wish to remove in place of the “app name” in the command.
What are the steps to Uninstall the Program Using the Control Panel?
You often use a control panel to operate your system. It’s a very important app when it comes to our systems. You can always use it for more operations like customization options like date and time, changing your system wallpaper, colors, etc., and many others.
But this control panel can be a quick and easy way to uninstall programs on Windows 11. Here are the steps that will help you do the same.
Step 1: You have to click Start, then in the search field, write the control panel. Then, select Open from the right pane.
Step 2: Select Category from the View by option in the Control Panel.
Step 3: In step three, select Uninstall a Program.
Step 4: From the menu that appears, select Uninstall when you right-click on the app you wish to remove.
Note: You can only uninstall software on Windows 11 that is third-party software. You can use any of the above techniques to uninstall UWP apps, such as the Calculator.
Isn’t it surprising that the panel we use only to control the system to date can give an easy and quick way to uninstall third-party apps from the system? Try it out yourself on your system.
Read Also: Windows 10 vs. 11: Best Choice for Users in 2024
Can you install software on Windows 11 using the Start Menu?
What a crazy question! The Start Menu is used to shut down the system and check the program list. How can we uninstall the software from here?
Well, the answer is yes, you can. It is a very easy and quick method that anyone can use to solve the problem.
Here are the steps:
Step 1: You can press the Windows key to open the Start Menu.
Step 2: Select All programs from the Start Menu by clicking on it in the upper right corner.
Step 3: Find the program you wish to uninstall, then right-click on it. Select Uninstall from the context menu after that.
We all use Windows and want our system to perform well. It’s very frustrating when you are working on something important and suddenly the system collapses.
Many times, this happens due to the amount of junk we save that is unnecessary in our system Use any of the above methods to uninstall programs on Windows 11. And get rid of these unwanted files today.

